
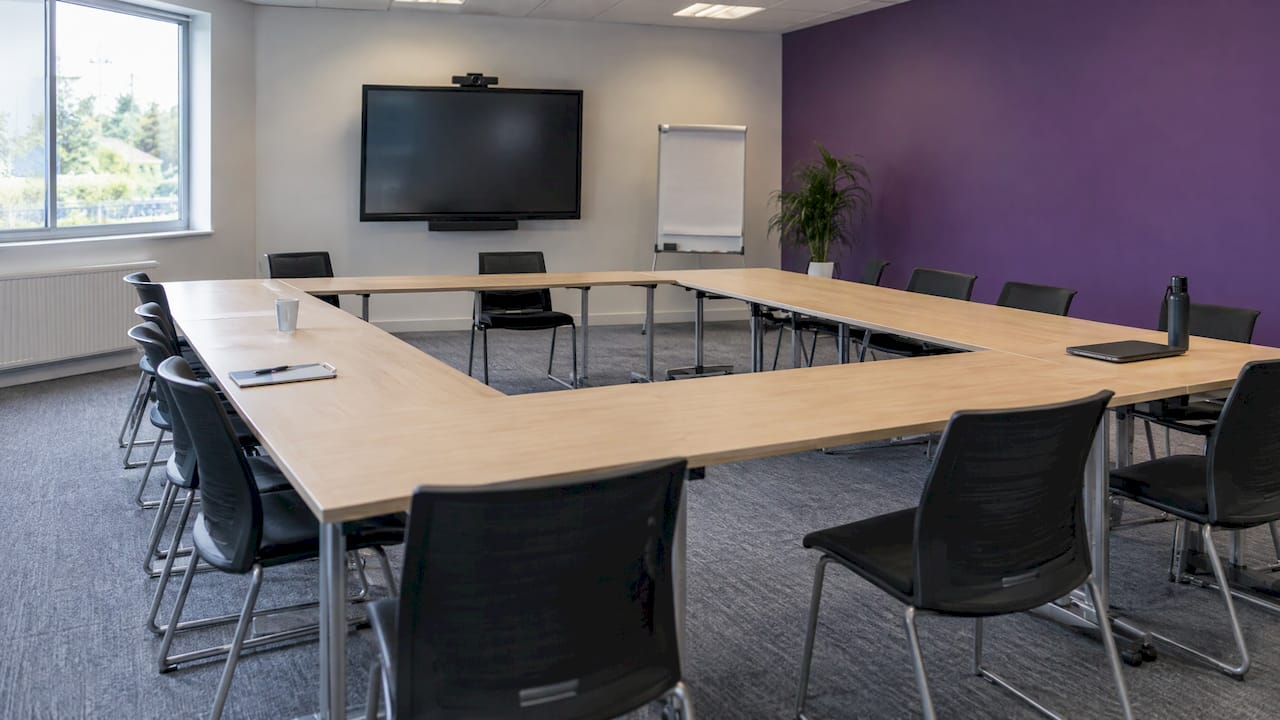
A good training room starts with one decision: how the people in it need to learn. Lecture-style sessions suit rows facing the front. Workshops and discussions suit a U-shape or small clusters. Once the layout is settled, the details decide whether the room works: sightlines, seating, acoustics, lighting, ventilation, technology and access for everyone. This guide walks through each, with Australian requirements where they apply.
TL;DR
- Pick the layout from the activity: classroom for lectures, U-shape for discussion, cabaret or clusters for group work, herringbone for a blend.
- Keep unobstructed sightlines to the screen and presenter, and plan circulation before you place a single table.
- Choose light, movable tables and ergonomic chairs so one room can serve several group sizes and session types.
- Treat acoustics, lighting, ventilation and accessibility as design inputs from day one, not fixes after the fit-out.
- Check the National Construction Code, AS 1428.1 and your state’s WHS requirements before you finalise plans.
Table of Contents
- Start with how people will learn
- Choosing a training room layout
- Sightlines, circulation and floor space
- Furniture that suits long sessions
- Designing a flexible room for different group sizes
- Acoustics: people must hear each other
- Lighting, ventilation and comfort
- Technology that disappears into the room
- Accessibility and inclusion
- Australian requirements to check before you build
- Fit-out or refurbishment: where Niche Projects helps
- FAQ
- Sources
Start with how people will learn
Most training rooms fail because they were designed around a table count rather than an activity. Before you think about furniture, write down the three or four session types the room must handle: a 40-person induction, a 12-person skills workshop, a half-day leadership session with breakout work, a hybrid presentation with remote attendees.
Then note, for each one:
- how many people attend, and how often the size changes;
- whether participants mostly listen, discuss, write, practise hands-on or work in groups;
- what technology is needed (display, video conferencing, laptops, power at every seat);
- whether the trainer stays at the front or moves around the room.
This short brief drives every other decision. It also shows you whether you need one fixed layout or a room that reconfigures quickly. If you are planning a wider refresh, our workplace strategy work begins with exactly this kind of usage analysis, so the training room fits how your teams actually work. Our article on integrating workplace strategy into an office refurbishment explains how that process runs.
Choosing a training room layout
There is no perfect layout, only one that suits the activity. Professional guidance on seating styles from CPD Standards describes classroom and traditional styles as suited to lecture-based delivery, U-shape or horseshoe layouts as ideal for interactive workshops and discussions, and cabaret or cluster layouts as best for small-group activities and team-building.
| Layout | Best for | Strengths | Watch out for |
|---|---|---|---|
| Classroom (rows facing front) | Lectures, compliance briefings, exams | Fits the most people; simple to set up | Limited eye contact between participants; the back rows disengage |
| U-shape / horseshoe | Workshops, seminars, discussion | Everyone sees the presenter and each other | Needs more floor area per person; capped group size |
| Cabaret / clusters | Group exercises, team building | Easy collaboration and table-based work | Some people sit with their backs to the screen |
| Herringbone (chevron) | Mixed teaching and discussion | Classroom density with better sightlines | Takes more space and a more involved setup |
| Boardroom | Small leadership or planning sessions | Formal, simple, strong for discussion | Poor for larger groups or presentations |
The herringbone option is worth a closer look. According to a training venue’s guide to room setups, it combines the desk-space efficiency of a classroom layout with better sightlines and more chances to interact, at the cost of space and setup complexity.
Why eye contact should drive the choice
The University of Queensland’s collaborative learning space guidelines point out that eye contact is fundamental to speech intelligibility, because facial expressions reinforce what is said. Their recommendation is that furniture arrangements prioritise participant-to-participant and participant-to-instructor eye contact, and that collaborative spaces avoid traditional rows in favour of non-hierarchical layouts.
For a corporate room, that gives you a practical rule. If the session depends on conversation, move away from rows. If it is mostly one-way delivery to a larger group, rows are fine, but give the trainer room to walk the aisles.
Sightlines, circulation and floor space
A layout only works if people can see and move. Two checks matter most.
Sightlines. Plan unobstructed views to the main display and the presenter. The University of Queensland guidelines advise keeping columns out of the line between participants and screens, and positioning the bottom of displays at least 1200 mm above the floor so people can see over those in front. Missouri State University’s classroom space guidelines take the same approach to room layout and space use.
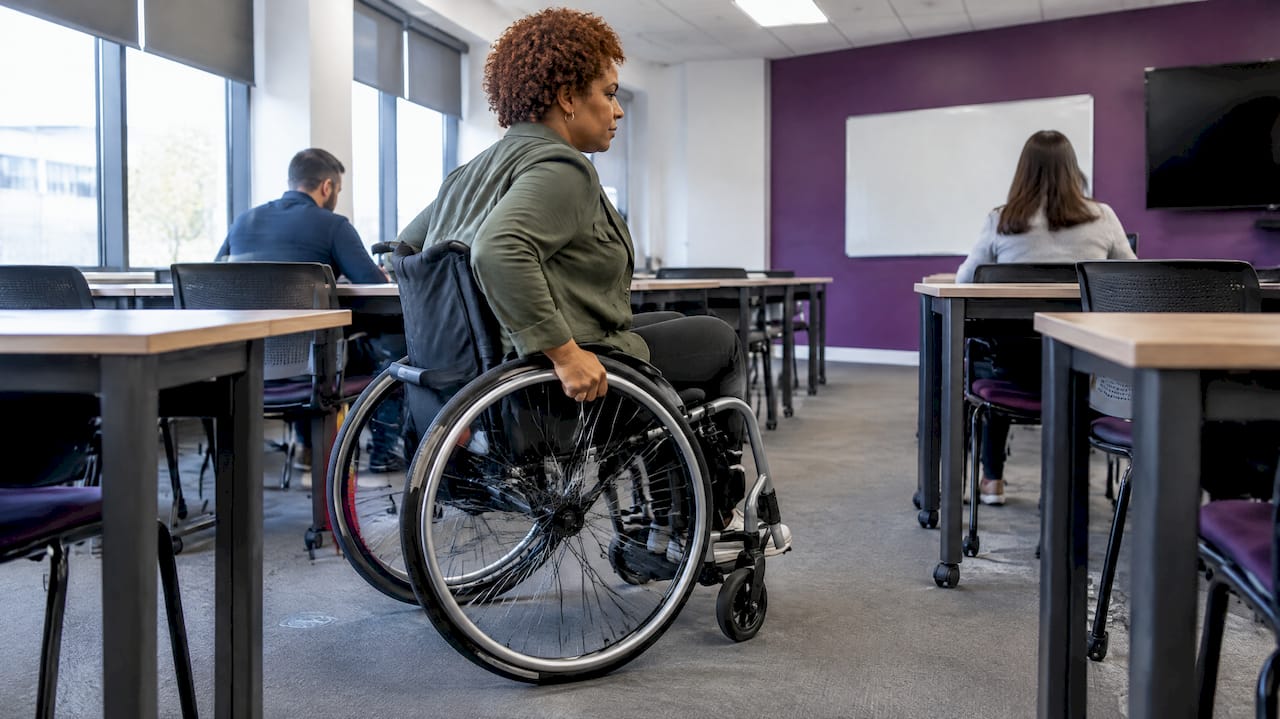
Circulation. Leave enough room around furniture for people to reach their seats, for the trainer to reach every table, and for anyone using a mobility aid to move without negotiating chair backs. Avoid cluttered paths of travel. TAFE NSW’s design standard for learning support spaces also stresses planning spaces to avoid trip hazards and keep egress paths secure and clear, particularly outside normal operating hours.
A quick floor-plan test
Before committing to a layout, draw it to scale and check:
- Can every seat see the primary display without leaning or craning?
- Is there a clear route from the door to every seat and from the trainer’s position to every table?
- Does the exit path stay clear when the room is at full capacity?
- Is there space to store spare chairs and tables rather than stacking them in a corner?
- Can the trainer reach the screen or interactive display without crossing a seating zone?
If you need a starting footprint, our CAD-ready meeting room sizes guide gives dimensions for rooms from 2 to 50 m², which is a useful baseline when you are testing how many people a space can hold in each layout.
Furniture that suits long sessions
Training days are long, and furniture is where comfort is won or lost. The University of Queensland guidelines recommend comfortable, ergonomic seating, preferably rated AFRDI Level 6, and lightweight, movable tables that allow different configurations.
When you specify furniture, think about:
- Chairs: supportive for a six-hour day, with a stable base and casters or glides suited to your flooring.
- Tables: light enough for one person to move, ideally able to fold or nest, and sized so a laptop, notebook and water fit comfortably.
- Power and data: power at or near each seat avoids cable runs across walkways.
- Storage: somewhere to park tables and chairs when you switch from classroom to open floor.
- Surfaces: a wall or rail for whiteboards, flipcharts or pinned work, because not every exercise happens on a screen.
TAFE NSW’s standard recommends mobile furniture that can be reconfigured or stored to support different learning modes, and spaces that are fit for purpose, adaptable and not tied to one course. That principle works just as well for a corporate room.
Designing a flexible room for different group sizes
Most organisations do not have the floor area for a dedicated room for every format. A flexible room is often the smarter investment. TAFE NSW’s design standard suggests multipurpose rooms, such as a meeting room that converts to a seminar space, supported by mobile furniture.
Practical ways to build in flexibility:
- Operable or acoustic partitions that split a larger room into two smaller ones, or open it for a town hall.
- Nesting tables and stackable chairs with a storage zone beside the room.
- Floor-mounted power points or ceiling drops rather than fixed rows of power at desks.
- A display wall that works from several angles, so the front of the room can change.
- Lighting zones, so you can dim the screen area without darkening note-taking areas.
Our article on designing a flexible boardroom covers many of the same ideas for smaller, more formal spaces.
Acoustics: people must hear each other
A training room that echoes, or lets noise through from the open-plan floor, undermines everything else. The University of Queensland guidelines advise managing ambient noise and reverberation for speech intelligibility, following the Association of Australasian Acoustical Consultants guideline for educational facilities (2016) and AS/NZS 2107:2016. Larger rooms may also need amplification to support speech.
In practice, acoustic design for a training room means three things:
- Keep noise out. Solid walls to the ceiling slab, sealed doors and appropriate glazing stop corridor and kitchen noise.
- Control reverberation inside. Acoustic ceiling tiles, wall panels and soft finishes absorb sound so speech stays clear.
- Match the system to the room. Microphones and speakers should suit the size, particularly for hybrid delivery.
For more depth, see our guides to office acoustics standards in Australia, understanding acoustics in your office and acoustics and office design. If the training room sits beside open-plan desks, acoustic solutions for open offices is worth reading before you finalise wall construction.
Lighting, ventilation and comfort
Safe Work Australia’s model code of practice on managing the work environment and facilities sets the baseline. Lighting must let people move and work safely without eye strain or awkward postures. Workplaces must be ventilated so work can happen without risk to health and safety. The code notes that natural ventilation should have permanent openings totalling at least 5% of the room’s floor area, and that enclosed workplaces should have comfortable air movement, usually between 0.1 m/s and 0.2 m/s.
A training room is a dense space: many people sit still for hours, laptops and screens add heat, and doors are often shut for acoustic reasons. That makes ventilation and temperature control more important here than in most rooms. Discuss mechanical ventilation capacity with your fit-out team early, because it affects ceiling design and plant space.
For lighting, aim for:
- even, glare-free light across desks and note-taking areas;
- separate control of the screen wall so content stays visible without plunging the room into darkness;
- good colour quality and no reflections on displays;
- emergency lighting for safe evacuation, which the Safe Work Australia code requires.
Our guides to office lighting design for 2026 standards and the role of office lighting in workplace safety go deeper on levels, controls and safety.
Technology that disappears into the room
The best training technology is the kind a visiting facilitator can use in two minutes. The University of Queensland guidelines call for intuitive, modern AV systems and wireless connectivity. TAFE NSW’s design standard recommends modern wired and wireless networks and connecting rooms to central building management systems to automate lighting, AV and blind controls.
When you brief the AV scope, cover:
- one-touch or simple wireless screen sharing;
- a camera and microphone setup suited to hybrid sessions;
- display size and height matched to the back row, remembering the 1200 mm bottom-edge guide;
- reliable Wi-Fi sized for every participant bringing a laptop and a phone;
- a booking and scheduling method that keeps the room in use.
The administrative side of running a busy training room, such as scheduling, reminders and follow-ups, is increasingly automated too. This overview of AI automation for team productivity shows how organisations are applying it to routine work like that.
Accessibility and inclusion
A training room must work for every participant and every trainer. The University of Queensland recommends collaborative learning spaces be universally accessible, complying with AS 1428.1 (Design for access and mobility) and the National Construction Code, with instructor spaces that allow 180-degree wheelchair turns and furniture that accommodates accessibility needs.
In practice:
- include seating positions that suit wheelchair users in every layout, not only at the back;
- leave aisles wide enough for mobility aids;
- provide height-adjustable or accessible work surfaces for the trainer as well as participants;
- consider hearing augmentation and clear signage;
- keep lighting and acoustic conditions comfortable for neurodivergent participants, with reduced glare and background noise.
Inclusion is also about the content of the layout: non-hierarchical arrangements make quieter participants easier to include. Our guides to inclusive office design in Australia and designing an accessible and inclusive office set out the wider approach.
Australian requirements to check before you build
You need to meet the National Construction Code for building safety and AS 1428.1 for accessibility. The WorkSafe Victoria compliance code on workplace facilities and the working environment is a useful reference on how facilities and environment requirements are applied, though your project should follow the WHS rules of the state it sits in. For a Sydney project, that means NSW requirements.
A practical pre-construction checklist:
- Confirm the room’s intended use and capacity with your certifier, since occupancy affects egress and fire requirements.
- Check egress paths, exit signage and emergency lighting.
- Check accessibility: doorways, turning space, reachable controls, accessible seating positions.
- Confirm ventilation and HVAC capacity for the maximum number of people.
- Confirm acoustic targets for walls, ceiling and doors.
- Document the maintenance plan for HVAC, lighting and fire services so the room stays compliant after handover.
These are things to settle with your designer, builder and certifier before any construction begins, so they shape the design rather than interrupt it.
Fit-out or refurbishment: where Niche Projects helps
We combine workplace strategy, office design and construction management, so the layout you choose on paper is the one that gets built. If you are creating a new training room or converting an underused meeting space, our Sydney office design team can plan the layout, and our Sydney office fitout and refurbishment service delivers it. Pricing is project-specific and not published, so the first step is a conversation about your brief.
FAQ
What is the best layout for a corporate training room?
It depends on the session. Classroom rows suit lectures, U-shape suits discussion and workshops, and cabaret or clusters suit group work. If your room must do several of these, choose light, movable furniture and a herringbone or reconfigurable arrangement.
How high should a screen be mounted in a training room?
The University of Queensland guidelines recommend the bottom of a projection screen or display sit at least 1200 mm above the floor so participants can see over those in front. Also keep columns and other obstacles out of the line of sight.
What standards apply to training room accessibility in Australia?
Designers should comply with the National Construction Code and AS 1428.1 (Design for access and mobility). That includes space for wheelchair users and enough room around the instructor area for a 180-degree turn. Your certifier can confirm what applies to your building.
How much ventilation does a training room need?
Safe Work Australia’s code says workplaces must be ventilated without risk to health and safety. Natural ventilation should have permanent openings totalling at least 5% of the floor area, and enclosed workplaces should have comfortable air movement, usually 0.1 to 0.2 m/s.
Sources
- Factsheet 43: Guidance on Training Room and Seating Layouts (CPD Standards)
- Collaborative Learning Space Design Requirements (University of Queensland)
- Best Training Room Setups for Professional Development Days
- Classroom Space Utilization Guidelines (Missouri State University)
- Learning Support Spaces Design Standard (TAFE NSW)
- Managing the work environment and facilities (Safe Work Australia)
- Compliance code: Workplace facilities and the working environment (WorkSafe Victoria)